Understanding Crane Load Charts: What Site Supervisors Need to Know Before the Lift
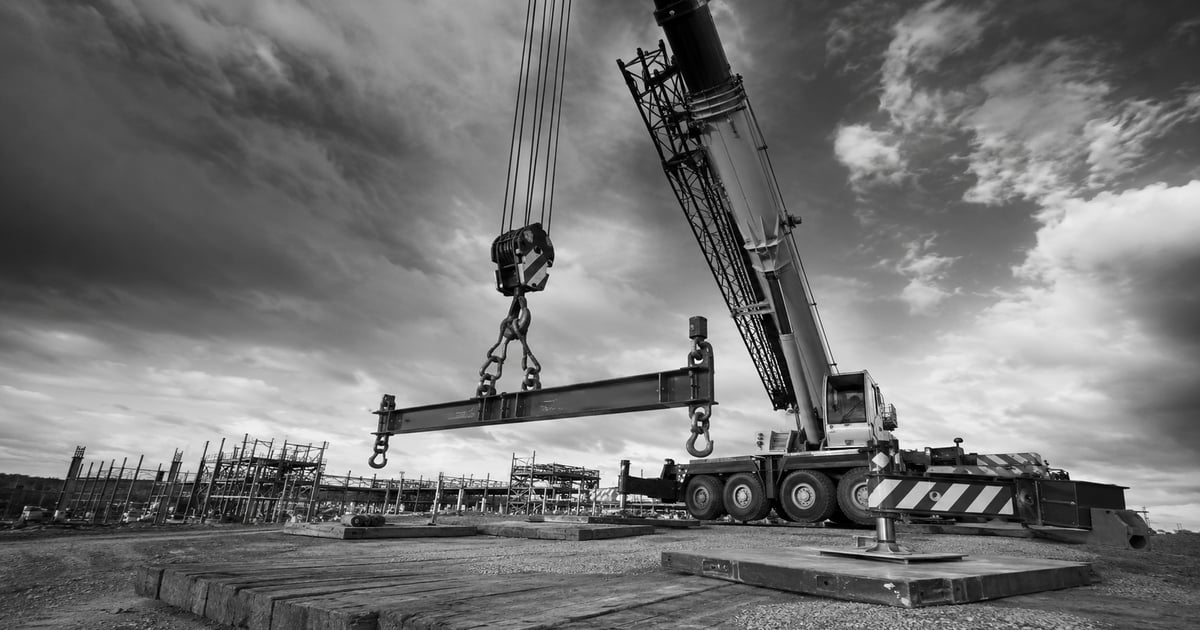
Every crane on a WA site comes with a load chart, and every serious incident involving an overloaded or over-radius machine traces back to someone misreading it — or ignoring it. If you're a site supervisor signing off on lifts, you don't need to be a lift engineer, but you do need to understand what the chart is telling you and where the traps sit. Here's what matters before the pick.
What a Load Chart Actually Represents
A crane load chart is not a promise that the machine can lift a given weight. It's a table of rated capacities under specific, ideal conditions — set boom length, set radius, set counterweight configuration, on firm level ground, with the crane properly set up on outriggers or tracks. The published figures already include a margin, but that margin is not yours to spend. It accounts for the structural integrity of the crane, not for sloppy rigging or bad ground.
The two numbers that govern everything are radius and boom length. Radius is the horizontal distance from the crane's centre of rotation to the centre of the load — not the length of the boom. As radius increases, capacity drops sharply. A machine rated for 50 tonnes at 6 metres might only handle 12 tonnes at 18 metres. Supervisors who think in terms of "it's a 100-tonne crane" are already on the back foot.
The Numbers That Erode Your Capacity
The gross chart figure is never what you can lift. You must deduct the weight of everything hanging below the boom head before you get to net capacity. That includes:
- The hook block and any auxiliary blocks
- Slings, shackles, spreader bars and lifting beams
- The main and auxiliary wire rope where relevant
- Any jib or fly attachment, even when not in use if it's rigged
On tilt-panel and structural steel work these deductions add up fast. A heavy spreader bar and a four-leg chain set can easily strip a tonne or more off your usable capacity. If your rigging gear isn't in the calculation, your lift plan is wrong.
Setup Conditions Change Everything
The chart assumes a specific counterweight fitment. Reduce the counterweight and you're reading a different column — or a different chart entirely. The same applies to outrigger spread. Many mobile cranes publish separate figures for fully extended, mid-span and retracted outriggers, and the difference is significant. On tight Perth CBD sites and constrained industrial yards near Kwinana and Henderson, partial outrigger setups are common, and that's exactly where supervisors get caught assuming full-chart capacity.
Over-the-side and over-the-rear lifting also matter for mobile cranes. Capacity over the front or rear between the outriggers is typically higher than over the side, because the machine is more stable along that axis. Know which quadrant your lift sits in.
Ground and Environmental Factors
Load charts assume firm, level ground. WA sites throw plenty at that assumption — soft fill, reactive clay after rain, uncompacted pads and buried services. Ground bearing pressure under outrigger pads must be assessed and matched with correct mats or bog mats. No chart accounts for a pad punching through.
Wind is the other silent capacity killer. Manufacturers publish maximum wind speeds for operation, and large-surface-area loads like tilt panels catch wind badly. On exposed sites and during the afternoon sea breeze that regularly builds across the Perth coastal strip, wind can shut a lift down well before the weight becomes an issue. Check the manufacturer's in-service wind limit for the boom configuration, not just a generic figure.
What to Confirm Before Every Lift
- Confirmed load weight, verified — not estimated from a drawing
- Actual working radius, measured, not assumed
- Boom length and configuration matched to the correct chart
- Counterweight and outrigger setup matched to the chart column
- All rigging gear weights deducted from gross capacity
- Ground bearing capacity assessed and mats specified
- Wind forecast checked against the in-service limit
If any of those are unknown at the pre-lift, the lift isn't ready. A load chart is only as good as the inputs behind it. Get the numbers right, deduct honestly, and the chart will keep you safe. Guess, and you're relying on a margin that was never meant to cover your mistakes.
At Lake Rigging WA we build lift plans around verified figures and real site conditions — not optimistic assumptions. If you want a second set of eyes on a marginal pick, talk to us before the crane arrives, not after.
Free quote
GET YOUR LIFTING
PROJECT QUOTE IN MINUTES.
